

In lost-wax jewelry casting, a small crack, loose sprue, or distorted connection can become a larger problem after investment. Repairing the wax model is therefore not just cosmetic. It is the last chance to make sure the assembly is supported, aligned, and ready for the next stage.
Wax work needs a different mindset from metal soldering. The goal is to soften or add wax only where needed, without erasing detail, rounding sharp edges, or changing the path that molten metal will later follow.
The repair principle: Align first, apply controlled heat, add only the wax needed, then inspect again before investing.
1. Inspect the Wax Model Before Adding Heat
Find Weak Points Before Repairing Them
Start by checking for separated joins, bent sprues, thin connection points, fingerprints, and loose wax chips. Hold the model gently and check whether connected sections move. If they do, correct the joint before investing rather than expecting the investment to hold the assembly together.
Dry Fit Before Adding Wax
Plan the repair from the least visible or least critical side when possible. Clean the contact area and dry-fit the parts first. A wax join is easier to control when the pieces already sit in their intended position, rather than when added wax is asked to pull a misaligned section into place.
2. Use Controlled Heat for the Size of the Repair

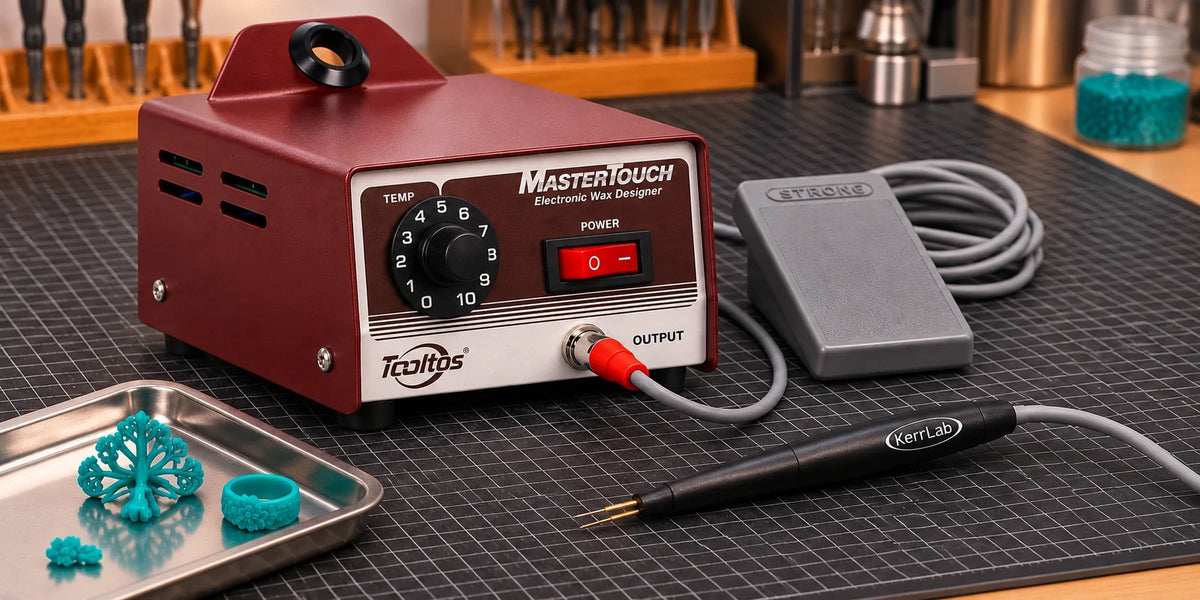
The Tooltos Electric Wax Welder is designed for wax model repair, joining, carving, and seam filling. It has an adjustable temperature range of 66–480°C (151–896°F), two heated tips, and foot pedal activation. Set the temperature on the dial before starting; the pedal controls on and off activation, not temperature.
Temperature reminder
The full adjustment range is a tool specification, not a recommended wax repair temperature. Test the selected tip and setting on offcuts of the same wax first, starting with low heat and increasing only as needed. Wax hardness, thickness, and formulation affect how quickly the area softens.
Match the Tip to the Repair Area
For a fine crack or a repair close to detail, use the smallest amount of heat and wax that restores the connection. A broader tip can help blend a longer seam, while a finer tip gives better access near delicate features. Work locally rather than heating the surrounding model unnecessarily.
Keep the task distinction clear: This is a wax-model tool, not a replacement for a torch or a dedicated high-temperature system for hard soldering gold or silver jewelry.
3. Rebuild the Joint Without Creating a Blockage
Add Gradually and Inspect From Several Angles
Add wax gradually, then inspect the transition from several angles. The repaired area should be continuous and strong enough for handling, but it should not create a large lump, close an intended opening, or thicken a sprue without a design reason. Keep channels and connection points clearly defined so the next casting-stage checks remain straightforward.
Let the Joint Stabilize Before Refining
Allow the repaired area to cool and stabilize before refining it. Remove only the excess needed to restore the intended profile. Rushing straight from heating to aggressive carving can tear a softened join or leave a hidden weak point.
Repair sequence: Align → Add wax gradually → Allow to cool → Refine → Inspect again
4. Make a Final Pre Investment Check
Before the model moves to investment, inspect every repair under good light. Use this final checkpoint to confirm:
- Joint stability: Sprues are firmly attached and repaired joins remain stable.
- Shape and detail: Decorative elements are aligned and fine details retain their intended shape.
- Clear paths: Openings and intended flow paths remain clear.
- Clean assembly: No loose wax flakes or chips remain on the assembly.
Treat this as a separate checkpoint from burnout and casting. A clean investment process cannot correct a wax structure that was already incomplete or distorted.
Choose the Tool for the Wax Task
Use an electric wax welder when precise, hands-on heat control helps you repair or assemble wax models. For related tools, browse the Tooltos Jewelry Wax Welders and Soldering Irons collection. Choose equipment for the wax task you need to perform, not for metal-soldering requirements.
Contact Tooltos
Have questions about choosing a wax welder or other jewelry making tools? Contact the Tooltos team at sales@tooltos.com.
0 comments