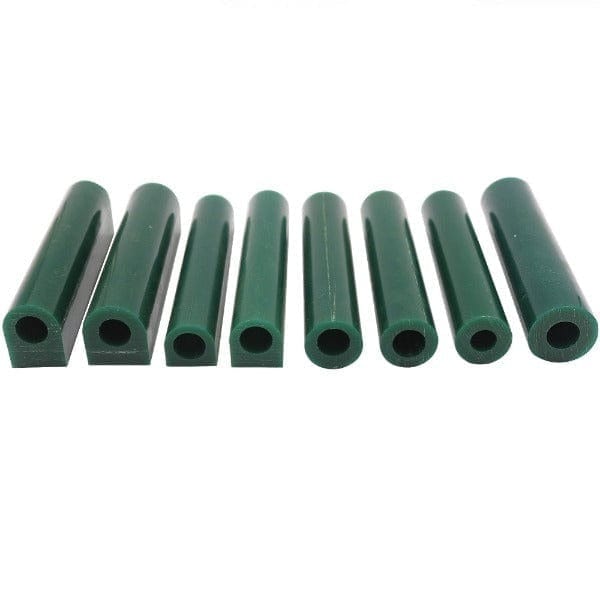
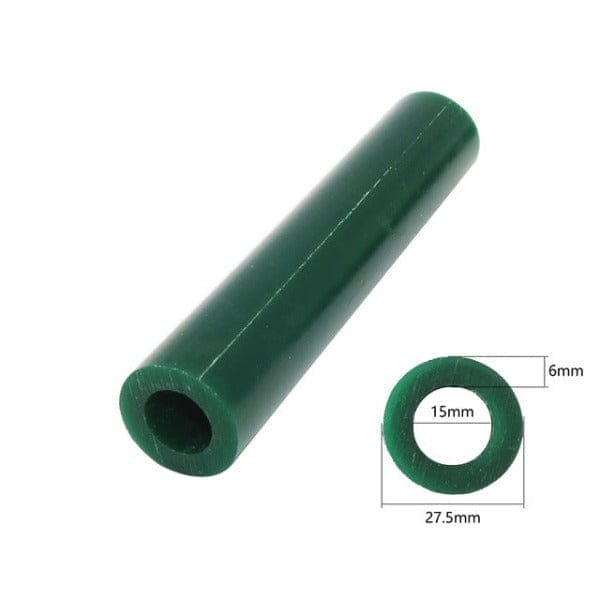

Great set for the price!
Thank you, Scott! We’re so glad to hear you’re happy with the value of the set. We really appreciate your support and hope it works great for your engraving projects.
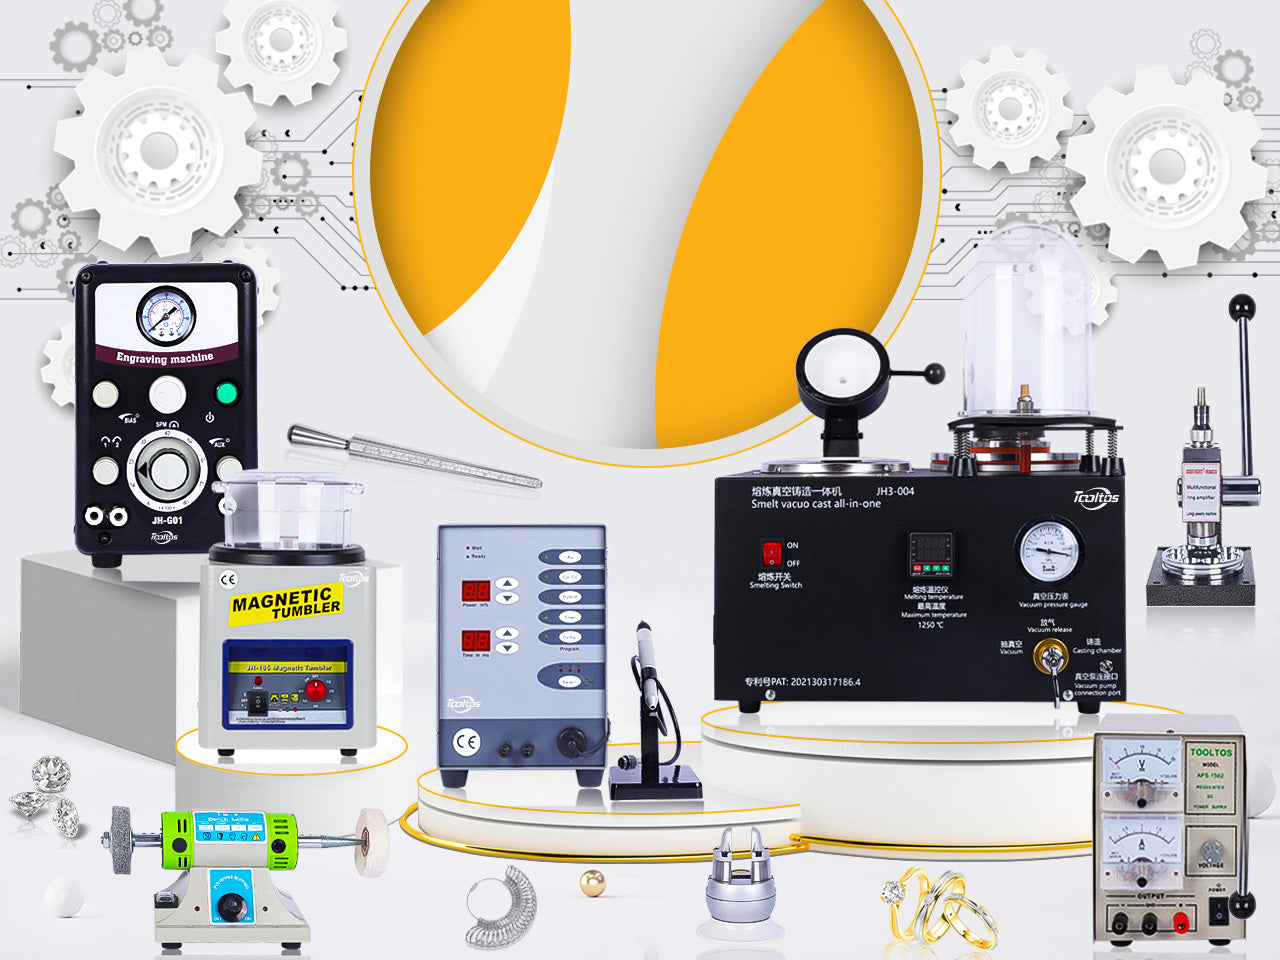
Super
Thank you, Stefan! We’re glad to hear you’re happy with the burnout furnace. We truly appreciate your support and hope it serves you well in your casting work.
At first, it took some time to figure things out because there was no manual, but eventually, it worked out well. I made one below.
Tooltos Jewelry Burnout Furnace User Manual
This manual provides detailed instructions on how to correctly operate and program your Tooltos Jewelry Burnout Furnace for lost wax casting and jewelry production.
Control Panel Overview
-SV (Set Value): The target temperature you set.
-PV (Process Value): The real-time temperature inside the furnace.
-SET Button: Opens settings and confirms saved values.
-MODE Button: Switches between operation modes.
-Arrow Buttons:
-← (Displacement): Moves the cursor.
-↓ (Decrease): Lowers the numeric value.
-↑ (Increase): Raises the numeric value.
Step-by-Step Programming
1. Power On
,1.,Connect the power cable and switch on the furnace.
,2.,Verify the screen displays both SV and PV readings.
2. Set the First Step
,1.,Press the SET button to enter the programming mode.
,2.,The display shows Step 1.
,3.,Use the arrow keys to set the desired temperature.
,4.,Confirm the value by pressing SET again.
3. Set the Time Duration
,1.,After setting the temperature, the display will prompt for time setup.
,2.,Adjust the duration (in minutes or hours) using the arrow keys.
,3.,Press SET to confirm.
4. Add Additional Steps
,1.,Repeat for Step 2, Step 3, and so on.
,2.,You can program up to 30 steps for precise burnout control.
5. Save the Program
,1.,Once all steps are configured, press SET + ← simultaneously.
,2.,The program will be stored in memory.
6. Run the Program
,1.,Return to the main screen.
,2.,Press Start to begin the operation.
,3.,Monitor the PV value to track the temperature progression.
After Completion
-The CNC display will flash to signal the end of the cycle.
-Allow the furnace to cool down naturally before opening the chamber.
-Carefully remove the flasks once fully cooled.
Professional Tips
-For dual-zone models, use the separate controllers to adjust heat distribution for multiple flasks of different sizes.
-Begin your burnout cycle with low temperatures (up to 200 °C) to allow the wax to melt out gradually.
-Increase gradually up to 850–900 °C to fully burn off residual wax.
-End with a slow cool-down to ensure investment mold stability.
Thank you so much for sharing your success story. I hope everyone can learn from your experience. Wishing you happiness every day!
It arrived fast. I haven’t used it yet because so far I didn’t have need for it, but I am sure it is of a great quality.
Thank you so much for your kind words. Wishing you all the best!


