

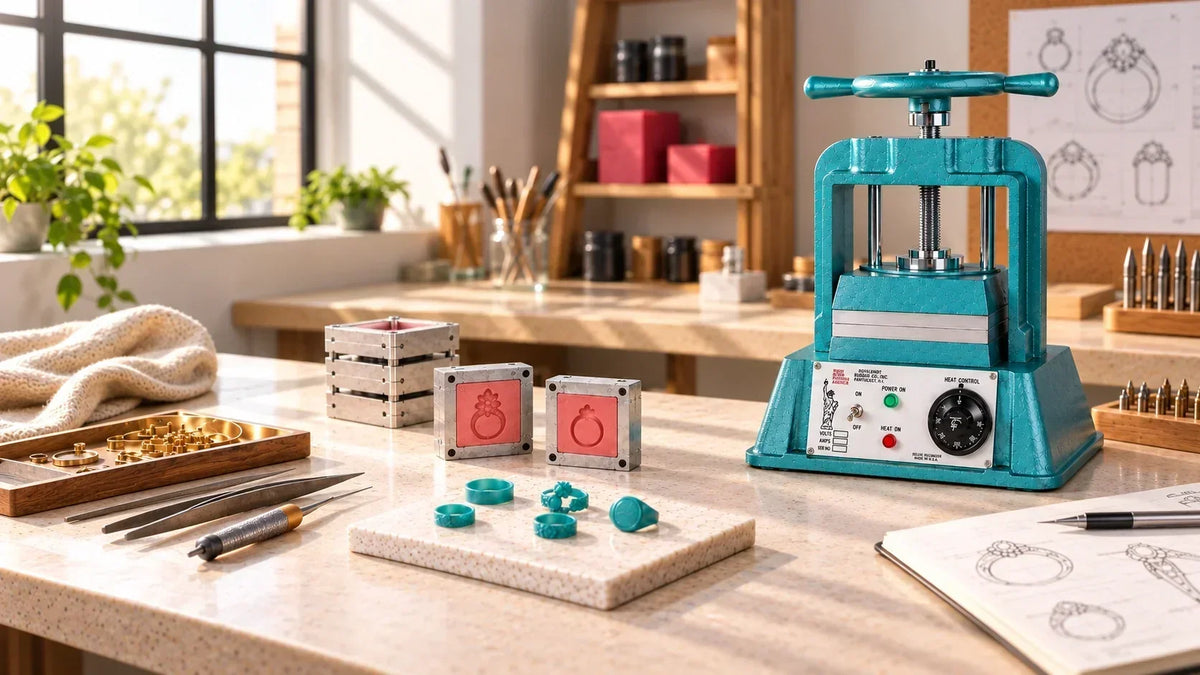
A jewelry vulcanizer is used before wax injection and casting. It applies controlled heat and pressure so rubber cures around a master pattern. Uneven heat, uneven pressure, or opening the mold too early can lead to lost detail or distortion during injection.
This guide uses the Tooltos Jewelry Vulcanizer as the equipment reference.
Material first: Always follow the time and temperature instructions supplied by the rubber manufacturer. Different compounds can require different cure settings.
Workflow at a glance
- Match the platen and mold frame, then confirm the bench setup and power requirements.
- Prepare a clean, centered mold stack and note the rubber maker's cure instructions.
- Allow the machine to stabilize at the material-specified temperature.
- Load the frame squarely and apply pressure gradually and evenly.
- Let the mold cool under pressure before opening.
- Inspect and record the result before moving on to wax injection.
Prepare the machine and mold
Match the platen to the mold frame
Start by confirming the frame size used in your mold-making workflow. This vulcanizer is available with 6 by 8 inch (about 15 by 20 cm) or 8 by 8 inch (about 20 by 20 cm) platens. Choose a platen that matches or exceeds the mold frame. A mold frame is not included.
Machine setup snapshot
220V only · 1000W · about 43 kg (about 95 lb). Set it on a stable bench with room for loading. Use two people for installation when needed. For a 110V site, arrange a suitably rated step-up transformer before use.
Prepare a controlled mold stack
Build the rubber and master-pattern stack according to your material and mold-frame procedure. Keep it centered, clean, and flat before it enters the machine.
Before each run, record the rubber type, frame size, pattern type, cure temperature, cure time, and date. These notes help you repeat a successful mold or investigate a failed one. Do not assume one cure recipe will work for every compound.
Run the vulcanizing cycle
Stabilize heat before loading
Set the temperature specified by the rubber manufacturer and allow the vulcanizer to stabilize before loading. The 50 to 300C (122 to 572F) control range is not a recommended cure setting for every compound. A stable start gives you a more consistent baseline for evaluating detail, rubber flow, and durability.
Temperature reminder: The machine's control range describes what it can set, not a one-size-fits-all recipe. Use the cure specification for your rubber.
Load the frame and apply pressure gradually
Place the prepared frame squarely between the platens. Apply gradual, even pressure rather than forcing the handle to full tightness immediately. This gives the rubber time to flow through the frame before full clamping pressure is reached.
Keep the platens parallel and avoid makeshift shims that could create an uneven load. The listed maximum opening is 100 mm (about 4 in); do not force an oversized stack into the press.

Cool the mold under pressure
At the end of the material-specified cure time, let the mold cool under pressure before opening. Releasing pressure while rubber is hot can allow it to deform before it has set. Inspect the cooled mold before cutting or injecting wax.
Inspect the mold and improve repeatability
Check the result before wax injection
Look for consistent thickness, clear pattern reproduction, distortion, weak areas, and signs of under- or over-curing. If the result is not satisfactory, review your notes alongside the rubber manufacturer's instructions. Change one variable at a time on the next trial and record the outcome, rather than changing several settings at once.
Keep mold records with the casting workflow
Vulcanizing is one step in a connected production chain. A stable mold improves the starting point for wax injection, but does not guarantee a defect-free wax pattern. Keep mold records alongside wax type, injection settings, and inspection notes so you can repeat established designs and investigate issues before investing and casting.
Daily operating checklist
- ✓ Verify the platen size matches the mold frame.
- ✓ Confirm the bench, voltage, and clearance are suitable.
- ✓ Use the rubber maker's cure specification rather than an assumed setting.
- ✓ Let the machine stabilize at the selected temperature before loading.
- ✓ Apply pressure gradually and keep the frame centered.
- ✓ Let the mold cool under pressure before opening.
- ✓ Log the material and settings, then inspect the mold before wax injection.
Support
For questions about the Tooltos Jewelry Vulcanizer or help planning your mold-making workflow, contact sales@tooltos.com. Our team responds within 24 hours on business days.

0 comments