

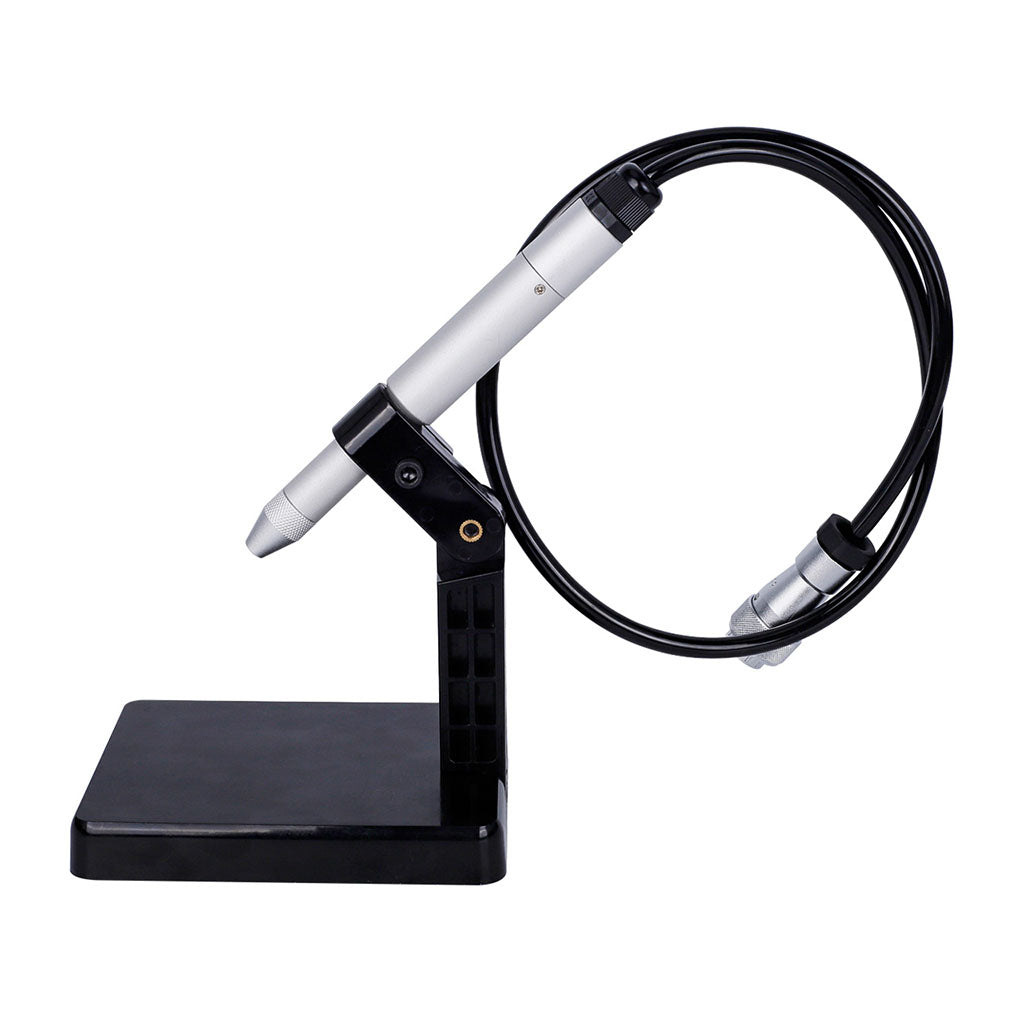
Dark, oxidized welds and weak joints are among the most common issues jewelry makers face with spot welders. These problems usually stem from improper equipment settings or technique gaps — not the equipment itself. This guide provides systematic solutions to help you achieve clean, strong welds every time.
Quick Diagnosis: 5-Second Checklist
Before detailed troubleshooting, run through this checklist. Based on feedback from 1,000+ users, 90% of welding problems can be resolved through these fundamental checks:
- Argon gas flow: Set to 8 to 12 CFH using a flow meter for precise control
- Electrode condition: Tungsten tip should be silver-white and conical, with no black carbonization or deformation
- Workpiece cleanliness: Clean the welding area with 99% isopropyl alcohol to remove oils and oxidation
- Power settings: Silver chains 15 to 25W, gold chains 20 to 30W, platinum 25 to 35W
- Ground connection: Ensure solid contact between workpiece and ground plate, no loose connections
Issue 1: Dark or Blackened Welds
Welds appear dark gray, black, or rainbow-colored with a rough surface texture — a clear sign of oxidation that affects both strength and aesthetics.
Common causes:
- Insufficient argon protection — low flow rate, excessive nozzle distance, or impure gas
- Excessive welding time — prolonged high-temperature exposure increases oxidation risk
- Environmental air currents — fans, AC units, or open windows dispersing protective gas
- Surface contamination — oils, polishing compound residue, or unremoved oxidation layers
- Electrode contamination — tungsten contaminated with impurities, creating unstable arc
Step 1 — Optimize argon protection: Adjust argon flow to 8 to 12 CFH. Maintain nozzle distance of 5 to 10mm from the workpiece. Use 99.99% pure argon and check gas line connections for leaks. Enable pre-flow (0.5 sec before) and post-flow (1 sec after) welding for complete protection.
Step 2 — Adjust welding parameters:
| Material | Thickness | Power | Time | Argon Flow |
|---|---|---|---|---|
| 925 Silver Chain | 0.3 to 0.8mm | 15 to 25W | 0.1 to 0.3 sec | 8 to 10 CFH |
| 14K Gold Chain | 0.4 to 1.0mm | 20 to 30W | 0.2 to 0.4 sec | 10 to 12 CFH |
| 18K Gold Chain | 0.4 to 1.0mm | 22 to 32W | 0.2 to 0.4 sec | 10 to 12 CFH |
| Platinum Chain | 0.5 to 1.2mm | 25 to 35W | 0.3 to 0.5 sec | 12 to 15 CFH |
| Stainless Steel | 0.5 to 1.5mm | 30 to 45W | 0.3 to 0.6 sec | 12 to 15 CFH |
Step 3 — Environmental control: Turn off fans and AC units that blow directly on the work area. Use a windscreen or work in a relatively enclosed space. Avoid welding near vents or open windows.
Step 4 — Workpiece preparation: Thoroughly clean the welding area with 99% isopropyl alcohol or a specialized jewelry cleaner. For heavily oxidized pieces, lightly sand with 1200-grit sandpaper first. Weld immediately after cleaning to prevent re-oxidation.
Issue 2: Weak Welds or Cold Joints
Welds appear normal but break easily when pulled, or the weld surface shows obvious lack-of-fusion areas.
Common causes: Power setting too low, welding time too short, electrode too far from workpiece, poor grounding, or worn tungsten tip.
- Gradually increase power in +5W increments until you see clear weld pool formation
- Extend welding time to 0.3 to 0.5 seconds to ensure complete fusion
- Position electrode tip 1 to 3mm from workpiece
- Clean ground plate surface and ensure tight contact between workpiece and ground plate
- For thickness differences greater than 2x, offset electrode slightly toward the thicker side
Issue 3: Rapid Electrode Wear or Contamination
Tungsten electrode tip turns black, becomes blunt, or shows ball-shaped melting, requiring frequent replacement or grinding.
- Use 2% Ceriated Tungsten (gray band) — optimal for jewelry welding. 1.0mm for fine work, 1.6mm for general applications.
- Grind at 15 to 30 degree angle with marks parallel to the electrode axis, not circumferentially
- Avoid electrode contact with the workpiece during welding — maintain 1 to 3mm gap
- Never strike arc without argon protection
- Wait 3 to 5 seconds after welding before moving the electrode to allow cooling in argon
Maintenance schedule: Inspect and lightly grind daily. Thoroughly clean electrode holder weekly. Replace electrode monthly under heavy use. Inspect the full electrode system including ceramic nozzle and collet quarterly.
Issue 4: Excessive Argon Consumption
- Use foot pedal control — activate gas only during welding, avoid continuous flow
- Do not blindly increase flow rate; 8 to 12 CFH is sufficient for most applications
- Regularly test all fittings and valves with soap solution to check for leaks
- Close the cylinder main valve when not in use and release line pressure
Preventive Maintenance Schedule
| Frequency | Tasks |
|---|---|
| Daily | Clean housing, inspect electrode, clean ground plate, verify argon flow meter |
| Weekly | Clean ceramic nozzle, check electrical connections, test foot pedal |
| Monthly | Replace or deep-grind tungsten electrode, inspect gas lines, calibrate power output |
| Annually | Professional calibration, replace all wear parts, comprehensive electrical safety inspection |
5 Keys to Welding Success
- Adequate argon protection — 8 to 12 CFH flow, 5 to 10mm nozzle distance
- Precise parameter settings — adjust power and time based on material type and thickness
- Clean workpiece surface — thoroughly clean with isopropyl alcohol before welding
- Proper electrode condition — use sharp, clean 2% ceriated tungsten electrode
- Stable ground connection — ensure complete current circuit with solid contact
When to Contact Technical Support
Contact the Tooltos team if problems persist after following this guide, or if the equipment produces unusual noises, odors, or smoke, shows an unstable arc, or displays error codes.
Contact: sales@tooltos.com — we respond within 24 hours on business days.
Shop Tooltos Spot Welders
- CNC Pulse Argon Arc TIG Welding Machine — Flagship model for professional studios
- Tooltos 30A Pulse Spot Welder — Entry level, ideal for fine jewelry repair
- Tooltos 50A Pulse Spot Welder — Most popular, suits most professional workshops
- Tooltos 100A Pulse Spot Welder — Heavy duty for thick metals and high-volume use
0 comentarios