


Melting metal is one of the most exciting aspects of jewelry making. Whether you are recycling scrap metal, creating custom pieces, or experimenting with new designs, jewelry melting offers endless opportunities for creativity. These five beginner-friendly projects will help you develop your skills while creating beautiful, functional jewelry.
1. Recycled Silver Beads
Transform scrap silver into handmade beads for necklaces or bracelets. This project is ideal for using leftover silver wire or sheet offcuts.
What You Need:
- Scrap silver
- Butane torch
- Soldering board
- Tweezers
- Mandrel or bead mold
Steps:
- Clean your scrap silver to remove impurities.
- Place small pieces on a soldering board.
- Heat with a torch until the silver melts and forms a ball.
- Let it cool, then drill a hole through the center or use a mandrel to shape it.
2. Textured Pendants
Create unique pendants by melting metal and pouring it onto a textured surface such as sand or charcoal. Each piece comes out slightly different, making every pendant one of a kind.
What You Need:
- Scrap metal (silver, gold, or brass)
- Crucible
- Jewelry melting furnace or butane torch
- Textured surface (sand, charcoal, or carved mold)
Steps:
- Melt your scrap metal in a crucible.
- Pour the molten metal onto the textured surface.
- Let it cool, then refine the edges and add a bail for a chain.
3. Simple Ingot Rings
Turn molten metal into a basic ingot, then forge it into a sleek, modern ring. This is a great introduction to combining casting and metalworking skills.
What You Need:
- Scrap metal
- Ingot mold
- Hammer and ring mandrel
- Polishing tools
Steps:
- Melt the scrap metal and pour it into an ingot mold.
- Once cooled, shape the ingot into a ring using a hammer and mandrel.
- Polish the surface for a smooth, professional finish.
4. Sand-Cast Charms
Use sand casting to create personalized charms or small sculptures with organic, detailed textures that are difficult to achieve by other methods.
What You Need:
- Casting sand and frame
- Model or carved design
- Scrap metal
- Melting furnace or torch
Steps:
- Press your design into the casting sand to create a mold.
- Melt your metal and carefully pour it into the mold.
- Let the metal cool, then remove it from the sand and polish the surface.
5. Custom Alloy Creations
Experiment with combining different metals to create custom alloys for unique jewelry pieces. For example, mixing gold and silver produces green gold, while copper additions create rose-tinted alloys.
What You Need:
- Metals to alloy (such as gold and silver for green gold)
- Crucible
- Jewelry melting furnace or torch
- Mold or ingot form
Steps:
- Weigh and combine the metals in the desired ratio.
- Melt them together in a crucible, stirring with a graphite rod for even mixing.
- Pour the alloy into a mold and use it to craft your jewelry piece.
Pro Tips for Beginners
- Start small. Begin with small quantities of metal to minimize waste and keep mistakes manageable.
- Practice safety. Always wear protective goggles and heat-resistant gloves, and work in a well-ventilated area.
- Use flux. Adding flux prevents oxidation and improves the quality of your melt.
- Keep a consistent temperature. Overheating can burn off alloying elements and weaken the final piece.
- Experiment freely. Try different textures, molds, and alloy combinations to develop your own style.
Related Guides
Shop Jewelry Melting Equipment
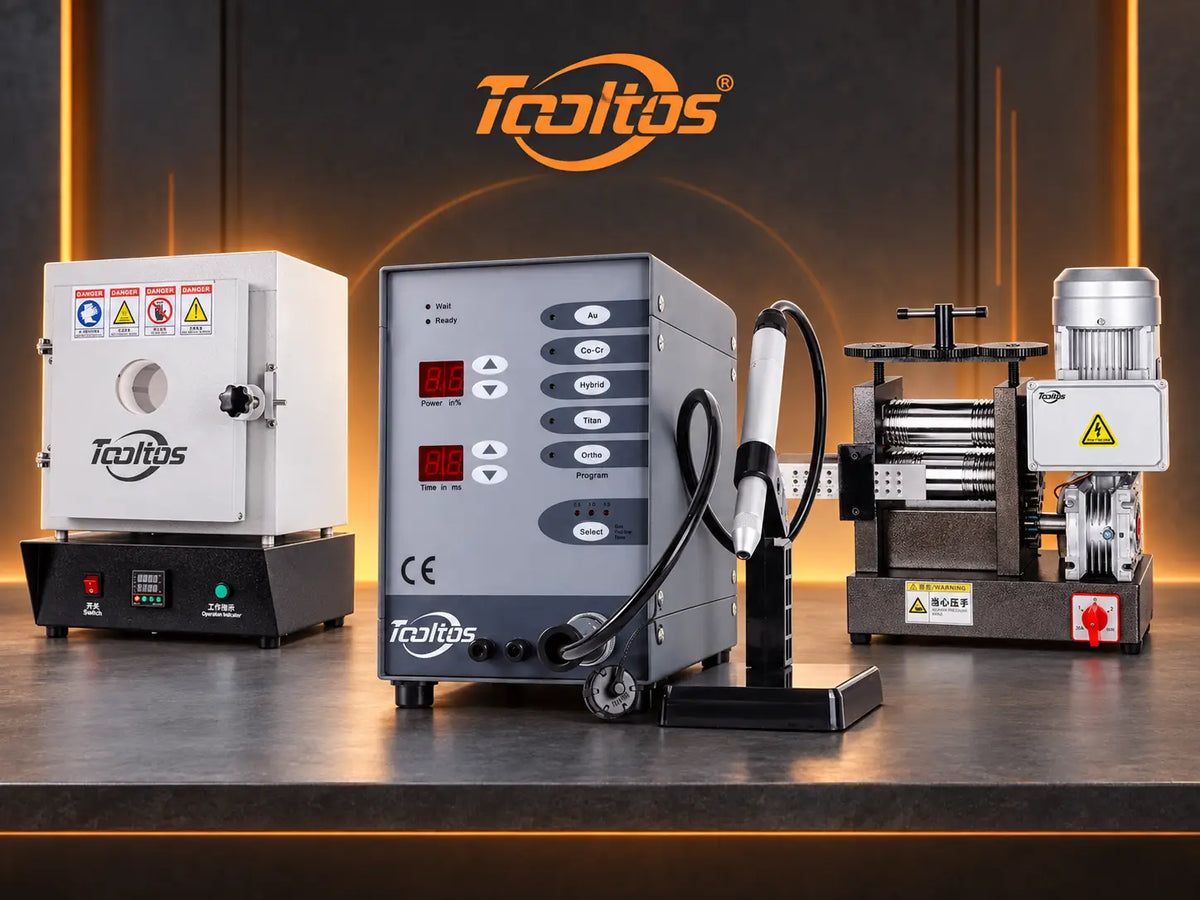
Looking for a reliable melting furnace or casting setup for your studio? The Tooltos team can help you find the right equipment for your metal types and production volume.
0 comentarios